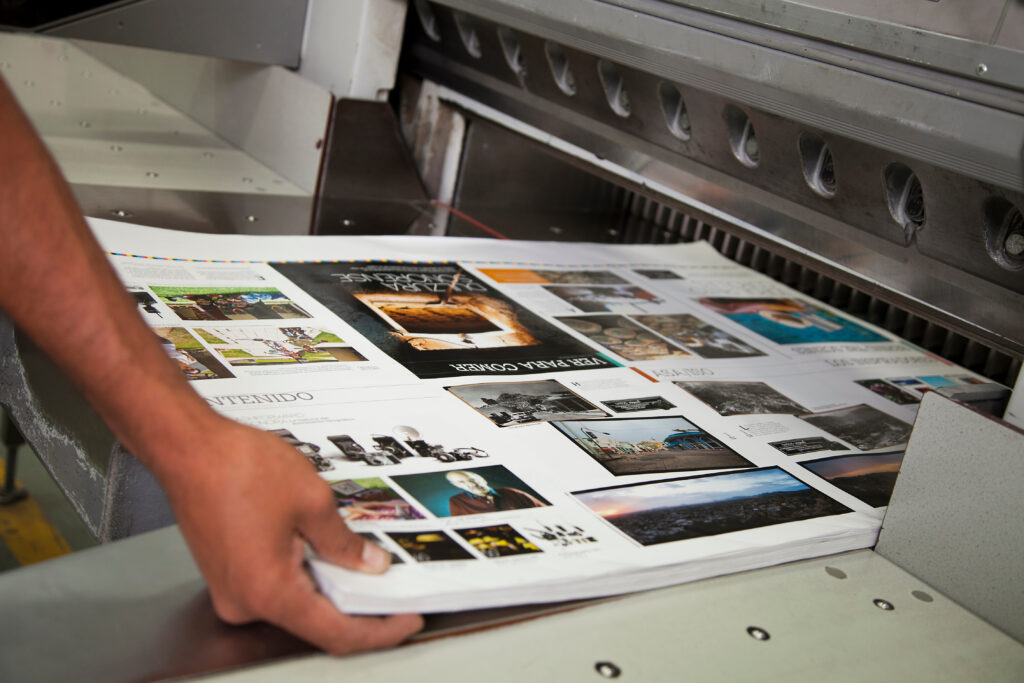
With ClarkFEST right around the corner, it’s time to prep and print those posters that show off all your hard work! Keep reading to make sure the poster process is quick, simple, and stress-free.
Step 1: Make your poster using provided templates
To avoid delays in printing your poster, use the templates provided by Clark ITS to make sure it’s properly sized.
Step 2: Submit your poster file to ITS
To submit your poster for printing, you’ll need to upload the file in PDF or PPTX form and provide some additional information. Please note the submission deadline for ClarkFEST is April 15th. If your poster is not for an event, it needs to be submitted at least 3 business days in advance.
Click here to submit your poster file
Step 3: Wait for a confirmation email
ITS will get to work processing and printing your poster. Once it’s ready, we’ll send you a confirmation email with pick-up details.
Step 4: Pick up your poster and pay (if necessary) in cash
Printed posters can be picked up at the ITS Help Desk once you’ve received confirmation that they are ready. For ClarkFEST, each participant is credited $25 for printing. This amount covers the standard 3 ft by 4 ft matte poster. If your poster is larger, heavily inked, or printed with a glossy finish, it may cost more than $25, in which case the participant is responsible for paying the difference.
If you’re printing a poster unrelated to an event such as ClarkFEST, ask your professor or department administrator if you’ve been issued a print credit for your project. Otherwise, you’ll need to pay out of pocket once your poster is ready.
When you go to pick up the poster from the ITS Help Desk, please bring exact change in cash if necessary.
Step 5: Show off your work
Conducting research and creating a poster is no small feat, and you’ve done it! Take some time to congratulate yourself before you present your awesome work 😊
If you have any questions about poster printing, please contact the ITS Help Desk.


 This month, we get to know Julian Killo, a Network Engineer in ITS. Julian started working at Clark in 2022 as a grad student and transitioned to working full-time in September 2023.