Tips and Tricks

Our Favorite Apps: Libby


Dark purple background with teal book logo. Text reads Meet Libby.

Welcome to a new series in Bits & Bytes where ITS will be sharing the apps that make our lives a little easier or more enjoyable.  

As mentioned back in the May 2023 issue of Bits & Bytes, Libby is an incredible app considered essential by Tess Walsh, Clark’s technology training specialist. The app allows you to borrow ebooks and audiobooks from local libraries and read or listen to them on your phone. 

“As a former English major and a current book club president, Libby saves me a fortune on book buying,” Tess says. “Plus, I can put books on hold in the app, so they’re delivered to me when available. It’s like getting an unexpected gift in the mail.” 

How does it work? 

Simply download the app from the App Store or the Play Store, put in your library card information, and browse ebooks and audiobooks!  

Does it cost anything? 

Nope. The app is free and there is no cost to borrow. Libby even returns borrowed content on the due date, so you won’t incur fees from your library.  

I don’t have a library card! 

All Clarkies have at least one—their OneCard, which serves as their Goddard Library card and grants access to Goddard resources through Libby.  

You can also apply for a Worcester Public Library ARC (Academic Research Collaborative) card with your Clark OneCard. Massachusetts residents, or those attending school in the state, are also eligible for a Boston Public Library eCard 

I need help! 

Goddard librarians can help you get started. Contact them at library@clarku.edu 

File Management 101

Person typing on laptop. Graphics of files and folders connecting to each other.

The end of the year is the perfect time to review, back up, and clean out files. Regularly performing file audits on your devices makes sure your information is organized and secure, which is ideal for productivity and peace of mind. ITS has put together some helpful suggestions on how to approach file management and review if you’re ready to enter the new year with a digital refresh.

Click here to view file organization tips from The New York Times 

To learn more about the science and practice of file management, check out this literature review from the Journal of the Association for Information Science and Technology 

Start with the Downloads section of your computer.

ITS recommends going through the Downloads section on your computer first, which often contains duplicate files or installation files you do not need. Delete these files or move them to a separate location on your computer, such as Documents, Desktop, or OneDrive. 

Sort files by last date modified

Once you’ve gone through your Downloads, you can move on to reviewing the files in other locations on your computer. Within locations such as your Desktop and within any folder(s) you use to organize your files, you can sort contents based on when they were last modified, meaning the last time you opened or made changes to the document(s). Typically, the older the file, the more likely it is you don’t need it anymore. Please use your best judgement regarding the importance of the file and its relevance to your career (for example: a shopping list from 2018 probably needs to be deleted, but your performance review from the same year should be kept).  

Create a “To File” folder

Reviewing files can be time-consuming and many of us tend to put it off due to busy schedules. A “To File” folder stores all your unorganized files or folders in one place, so you can go through this list at your own pace. For example, you could dedicate 10 minutes a day to moving files from this folder into their proper place or commit to filing 3 items a day. These small increments will make the task less overwhelming and make sure your files are properly organized.  

Back up your files

Accidents happen and computers don’t live forever. To make sure your files are preserved, you should regularly back up your files to a location that exists outside of your computer. There are two primary methods for backing up: to an external, physical drive and to the cloud. There are benefits to each method: see the tables below for more information so you can make the best decision for your situation. 


Backing up to the Cloud (OneDrive) 

PROS  CONS 
Automatic back up and syncing so your files are always up to date  Need an internet connection to sync and back up effectively 
5 TB of OneDrive storage included in your Clark account  Syncing can be time consuming 
Secure and accessible from any internet-connected device  Will need to move files out of Clark OneDrive if leaving the university 
Better protected from destruction or theft.  Files can be compromised if someone accesses your Clark account unauthorized. Make sure to protect your password!  


Backing up to External Drive 

PROS  CONS 
Complete control over back-up frequency  Does not automatically update files, but captures a “snapshot” of their state at a current date/time, so information loss is still possible depending on frequency of back up 
No need for internet connection  Need to manually copy or move files into external drive location 
File moving/copying is typically faster  Certain failures (like destruction or theft) could impact both the computer and the backup drive 
  Less secure and easier to lose 


ITS recommendation: Back up to OneDrive for everyday assurance, and complete back-ups to external drives on a semi-regular basis.  

If you have questions about backing up files or about OneDrive, please contact the Help Desk.  

Tech Tips for Start-of-Semester Success

dynamic back to school background with a burst of colorful geometric shapes and symbols representing different academic subjects. Generative AI

Whether you’re returning to Clark or joining our campus community for the first time, ITS is excited to help you succeed this semester! We’ve worked hard over the summer to expand technological tools and spaces to help you study, create, and teach to the best of your ability.  

If you want to save time… 

If you want to organize your emails… 

  • Turn on conversation view, which groups received messages and replies together. No more searching through your sent items!  
  • Create rules in Outlook to automatically take action on emails as they come in. Choose from a variety of options, such as forwarding, filtering, categorizing, and flagging. With rules, the important stuff gets your attention, and the less-important stuff gets organized.  

If you want to brush up on what you learned last year… 

  • Use your Clark credentials to activate your free LinkedIn Learning account. Browse thousands of topics, including programming, research and citation, study skills, and time management.  

If you want to customize notifications to increase focus… 

  • Customize your Canvas notifications by going to your account and selecting Notifications. From here, you can create your own preferences to make sure you’re receiving messages in a way that best supports your learning or teaching style. 

Screenshot of left sidebar Canvas menu. "Account" is selected, showing options including Notifications, Profile, and more.

If you want to try a new way to get ideas on paper… 

  • Practice dictating your thoughts into a Microsoft Word document. Brainstorming or writing this way might feel more natural depending on how you think best, and it’s a great technique to use to avoid blue light and eye strain if you’ve been looking at your screen for a while. Click here to learn more about how to use dictation in Word

ITS looks forward to supporting you during the academic year. Please contact the Help Desk by emailing helpdesk@clarku.edu or calling 508-793-7745 if you have questions, suggestions, or require technological assistance.

‘Tis the Season for Poster Printing

Posters

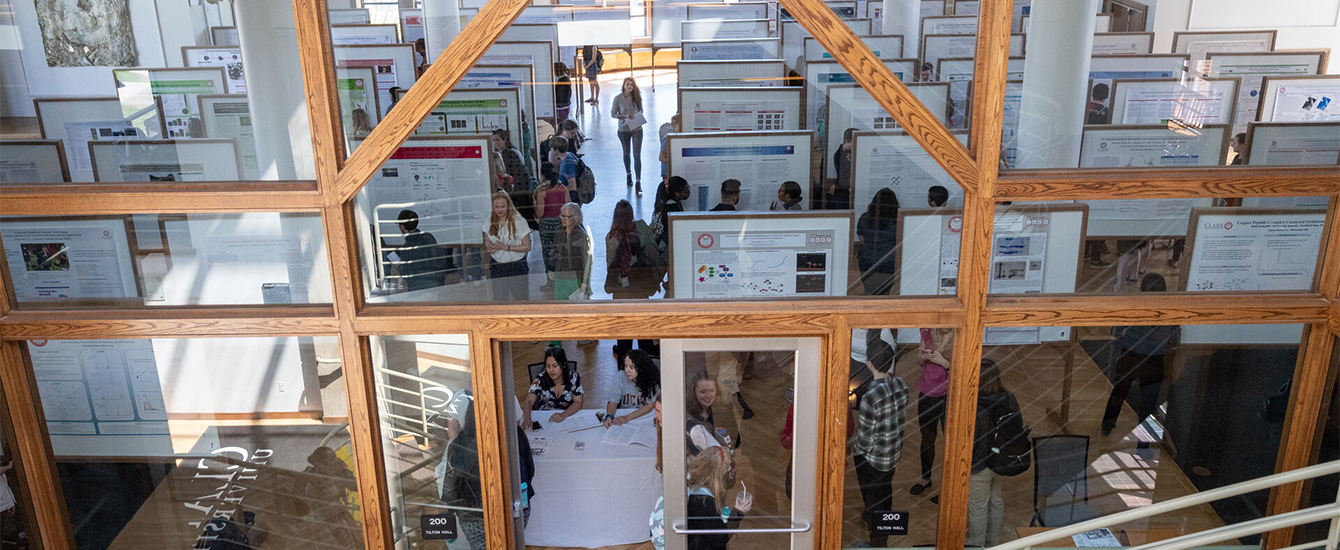
Spring is Poster Printing season, with ClarkFEST, class and departmental poster events, Academic Futures Showcase, academic conferences, and much more.

Each year ITS prints over 250 posters in support of teaching and learning, and academic research. As a result, we wanted to share our top 5 tips for easy poster printing.

If you’re looking for more advice, click here to read additional guidance.

Check Sizing

While the most common poster size we print is 36 inches by 48 inches, different events require different poster sizes and dimensions. Check requirements early and set your size in your design application before beginning your work. Changing sizing, and particularly dimensions, at a later time can require you to change your design significantly – a stressor that you won’t need before the event.

Most posters are created in Powerpoint, where it’s very easy to change your slide size. Click here for more information on how to do so. For an even easier option, use one of our pre-sized templates, available here.

Poster Printer

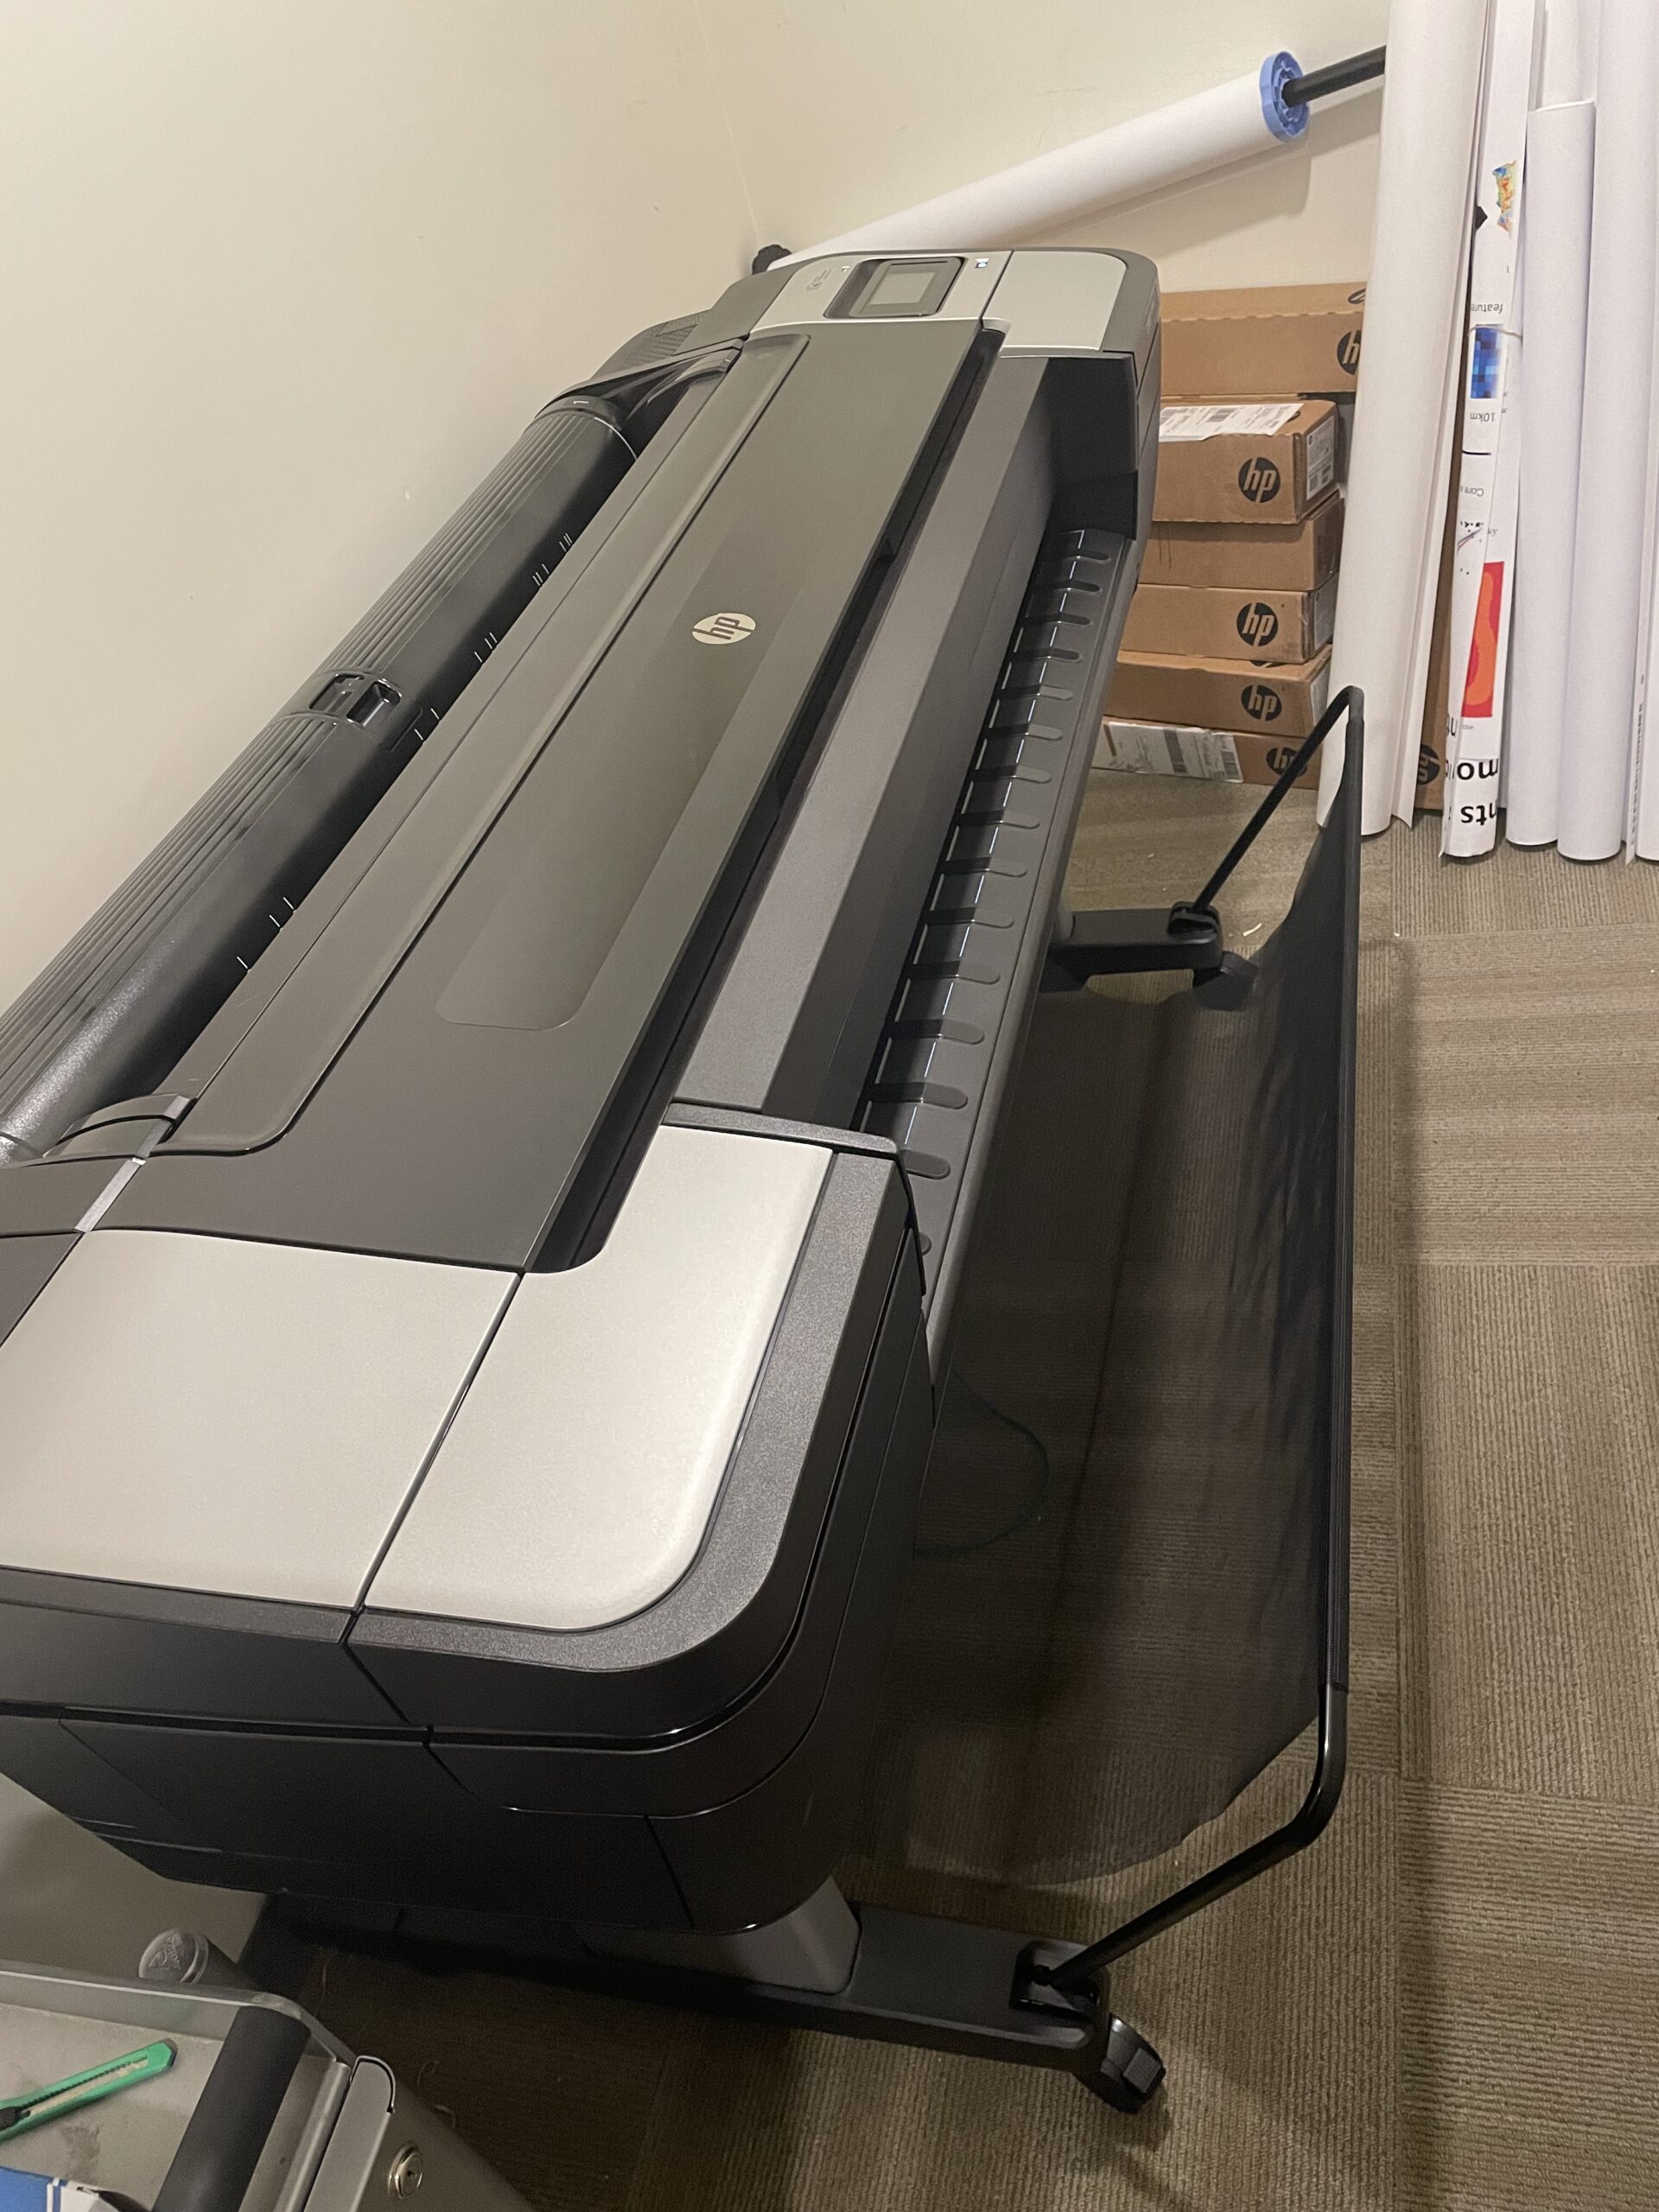
Our trusty poster printer

Edit your text

Posters, by their nature, have limited space. As you’re designing your poster, consider what your goals are and be ruthless in editing your text. Remove anything extraneous and be sure that all elements support your narrative. Remember that reducing your font size to help everything fit is rarely a good choice.

Additionally, your audience will be moving past your poster and may not have the time to read every line of text. Choose descriptive and catchy headings and subheadings to draw people to your work and encourage them to spend more time with your poster.

Use images (appropriately)

Images are an important element to making a poster attractive, interesting and useful for the audience. However, remember that all images should build towards your goals, and shouldn’t be purely decorative.

From a technical perspective, ensure that all images are high-quality to prevent pixilation when printed at large scale (click here for advice on how to do this). Also, the cost of your poster will be impacted by the ink-usage during printing. Images with high contrast, large areas of very dark colors, or image-based backgrounds will increase your poster costs.

Proofread

Proofread, proofread, proofread. We can’t say this enough!

Everyone makes mistakes, but doing all you can to catch mistakes prior to submitting your poster to be printed will reduce your stress. Read every word on your poster multiple times, read it backwards, have a few friends read it. Please note that ITS does not proofread posters prior to printing.
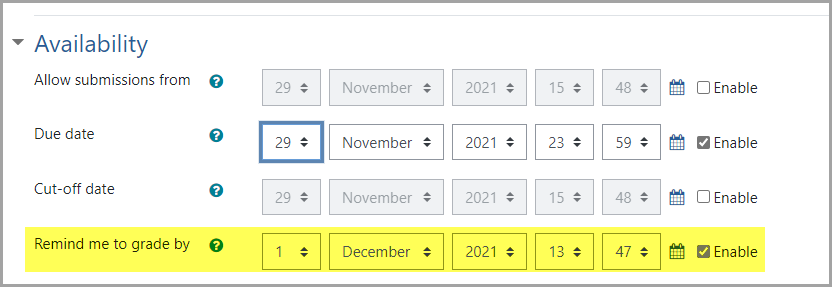
Know your deadlines

For large events such as ClarkFEST, ITS can receive over 100 poster requests in a period of 2 business days. Our poster printer can take between 5 and 10 minutes to print each poster, and that timing doesn’t account for sizing review, paper and ink changes, invoicing and rolling. As a result, submission dates are set to allow our team to print high-quality posters in plenty of time for events, so we appreciate you submitting your work by the deadline.

New Year, New Tech

With January almost over, your New Year’s goals might need an infusion of energy or inspiration. No matter what you’re hoping to accomplish in 2023, technology can help you stay on track, spark new ideas, and improve your daily routines.

If you want to prioritize your well-being…

If your resolution is to learn something new…

If your resolution is to declutter and be more organized…

  • Learn more about how Microsoft OneDrive can help with digital clutter.
  • Learn how to organize and declutter your phone from NYT Tech Tips
  • Get rid of physical clutter by joining a local Buy Nothing group. This is a great way to rehome clothes, toys, books, or furniture within your community.

If your resolution is to save money…

As always, ITS is eager to assist you and make sure you have a successful semester and productive 2023. Please contact the Help Desk or the technology training specialist if you have questions, concerns, or requests.

How to Annotate PDFs

Chances are that you’ve come across or even created a PDF file before. They’re common in online research databases, on websites, and even as homework assignments.

A PDF (portable document format) is designed to preserve the format of the file, which makes it ideal for documents like resumes or presentations with images (other files, like Word documents, may change format depending on factors like the viewer’s screen size). This format also makes PDFs difficult to edit or annotate. Fortunately, it is possible to mark-up PDFs using university resources such as OneDrive and computers across campus.

What is annotation and why should I do it?

Annotation is a method of interacting with information (text or otherwise) by marking it up with questions, summaries, symbols, drawings, etc., to enhance comprehension. This interactive way of reading or reviewing while studying has been shown to reduce cognitive overload and help students identify structure and contextualize ideas (source). Click here for a quick guide on how to start annotating from the University of North Carolina.

For faculty and staff, annotating PDFs can allow you to give quick feedback and content changes to collaborators across campus.

How do I annotate on my phone or tablet?

First, download the OneDrive app to your phone from the App Store or Google Play and sign in using your Clark account. Next, select the PDF you’d like to annotate (see more info on using OneDrive to organize documents here).

Tap the “Annotate” pencil icon on the bottom of the screen and then use the pen and highlighter tools to mark up the document with your finger or stylus. You can also type notes using the note icon in the upper right of the screen.

How do I annotate on a computer?

Most campus devices in public computing spaces, including those in the library, are pre-installed with an app called Foxit PDF Reader. This app allows you to open multiple PDFs simultaneously, as well as add typed notes, images, and highlights to the file. ITS recommends uploading your files to OneDrive for seamless file access so you don’t have to shuffle files back and forth between personal and university computers.

There are also third-party sites, such as Kami, which integrate with OneDrive and provide different editing and annotation tools for academic use . Please note that these third-party tools are not supported or affiliated with Clark University, and you should always check privacy policies and terms of service before creating an account.

Ten Minute Tech Tip: Attach or Link

Hi Tess,   

When partnering with my colleagues , I’ve noticed some people email files to me for comments, and others share files for the same thing. Is one method better than the other? What’s the difference between emailing a file and sharing a file?  

Thanks, Mr. Attach or Link? 

The short answer: emailing the file as an attachment sends your coworkers or classmates a copy of your incredible work, while sharing the file allows them access to the original.

If you don’t need the recipients to review or make changes to the file, emailing is fine – but for collaborative projects and brainstorming, sharing is much better. Here’s why:

  • No need to waste time condensing everyone’s comments and versions into a single file
  • Easily see who made which changes
  • Control who is allowed to do what (Jenny can review and leave comments and Maria can edit the whole thing)

You can share files easily with your Clark OneDrive account.

Bonus tip: Tired of searching through your email for a file your department chair or TA sent you? Log into OneDrive through ClarkYOU and click “Files Shared with Me.” Bookmark this page for easy access—it’s a running list of all files and projects shared with you by people at Clark!

Click here to view a two-minute video playlist on LinkedIn Learning (log in required), or click here to schedule an appointment with the technology training specialist.

Ten Minute Tech Tip: What is the Cloud?

Written by Tess Walsh, Technology Training Specialist.

You may have noticed the word “cloud” floating around the internet, news reports or in applications. Messages such as Save your photos to the cloud for more space and Download from the cloud pop up as we’re sending emails, typing essays, or taking pictures. But what is the cloud, really? And why should we use it?

If you like analogies… you can think of files as money—both are valuable and necessary to modern life. You can keep your money in cash in your wallet or under your mattress and you can keep your files saved to a single computer or hard drive. Alternatively, you can keep your money in a bank account, and you can keep your files in the “cloud”.

Once your hard-earned cash is in a bank account, you’re able to access the funds in this account at any store, withdraw them from any ATM with a debit card and a PIN, or login to a website to transfer funds. Similarly, if your files are in the cloud, you can access and edit them from any internet-connected device using your account information. This method also makes sure that your valuables are less susceptible to accidents and emergencies, such as a lost wallet for your cash, or a damaged laptop for your files.

In more technical terms, the cloud is a file storage space on the internet linked to a specific account rather than a specific device. Most well-known tech services, including Microsoft, Google, and Apple, have their own versions of the cloud. Clark University offers community members five terabytes of storage (which is a lot!) on Microsoft cloud storage – Microsoft OneDrive.

There are many benefits to saving files to the cloud, including:

  • File protection if your computer fails or malfunctions
  • Ability to access and edit files from multiple devices, including phones and tablets
  • Integration with your Clark Outlook account
  • Microsoft encryption and security for your files
  • Easy collaboration with colleagues and peers

Interested in learning more? LinkedIn Learning provides lots of information about Microsoft OneDrive and other cloud services free to all members of the Clark community. Staff and faculty can schedule an appointment with Clark’s technology training specialist to learn more.

Ten Minute Tech Tips

Written by Tess Walsh, Technology Training Specialist.

The world we live in is always changing. In 2022, we read academic articles on phones, use emojis to communicate with coworkers, and might even order groceries from robot assistants. The ability to interact meaningfully with a variety of software, devices, and apps—a skill often called technological literacy—has become vital in all aspects of our lives.

Everyone at Clark is at different points in their tech literacy journey, and this journey will continue beyond your time on campus. Just as technology itself is always evolving, so too is our relationship to it. Here are a few ways you can enhance your technological literacy:

These resources will take you less than 10 minutes and may make a big difference in how efficient and comfortable you are working, teaching and studying at Clark. Look for more future resources in this reoccurring column.

Interested in learning more? Tess Walsh, our Technology Training Specialist is available to meet with staff and faculty to learn more about how best to use technology. Click here for more information.

Stay on Track with Moodle

Decorative: Moodle Logo in a cloud

In a world full of deadlines, we can always use a reminder or two. With our recent update, Moodle now has new tools to help teachers and students stay organized by tracking what work is due and what has already been submitted and graded.

These tools are available now and include the Timeline block, Upcoming Events block, and additional information in the Collapsed Topics course format.

Timeline

This new feature provides a way to keep track of activities and deadlines across all of your Moodle courses. Located on the right-hand side of your dashboard (the first screen you see when logging into Moodle), this block allows you to sort by overdue or upcoming due dates (for all courses), or sort by due dates for each course.

Student and faculty view of the timeline block

Upcoming Events

The Upcoming Events block shows deadlines within and specific to a course. The block is located on the right side of the course page and displays activities and assignments that have due dates, as well as other calendar events. Users may click an item to preview details and navigate to the activity to be completed.

Detail of the the upcoming events block

Collapsed Topics: Additional Information

When using the Collapsed topics format (a Moodle course that has sections that you can toggle open and closed), users will now see additional information about the status of many activities, including assignments and quizzes. Directly from the course home page, users can see at a glance the due date, submission details and if feedback is available for a range of activities.

Collapsed topics and additional information

Remind me to Grade by

For faculty and TAs a new assignment option can now remind you when to grade submissions. To add the reminder, under the Assignment Availability settings, set “Remind me to grade by” to a date/time on or after the due date. The notification will display to faculty and TAs in the Timeline and Upcoming Events blocks.

Screenshot of how to set up Remind me to grade by

We hope these changes enhance your ability to better plan and prioritize your work. If you have questions about these or other Moodle features, reach out to your Academic Technology liaison.