
These days, Clark classes, meetings, and events often take place virtually in Teams or Zoom. While many of us know about the basic features of these online spaces, such as chat and screensharing, including a digital whiteboard in your next virtual gathering can be a unique, collaborative, and fun way to engage your fellow Clarkies. Whether you’re brainstorming ideas for a group project or outlining goals for a staff initiative, whiteboards can help the ideas flow!
How do I create a whiteboard?
In either Teams or Zoom, navigate to the screen-sharing option. When you opt to share your screen, the software presents you with a few different options: you can elect to share your whole screen, one app, or a whiteboard. Choose the whiteboard option, and everyone in the meeting will be able to see it and, if you choose, interact with it.
What can I do in a whiteboard?
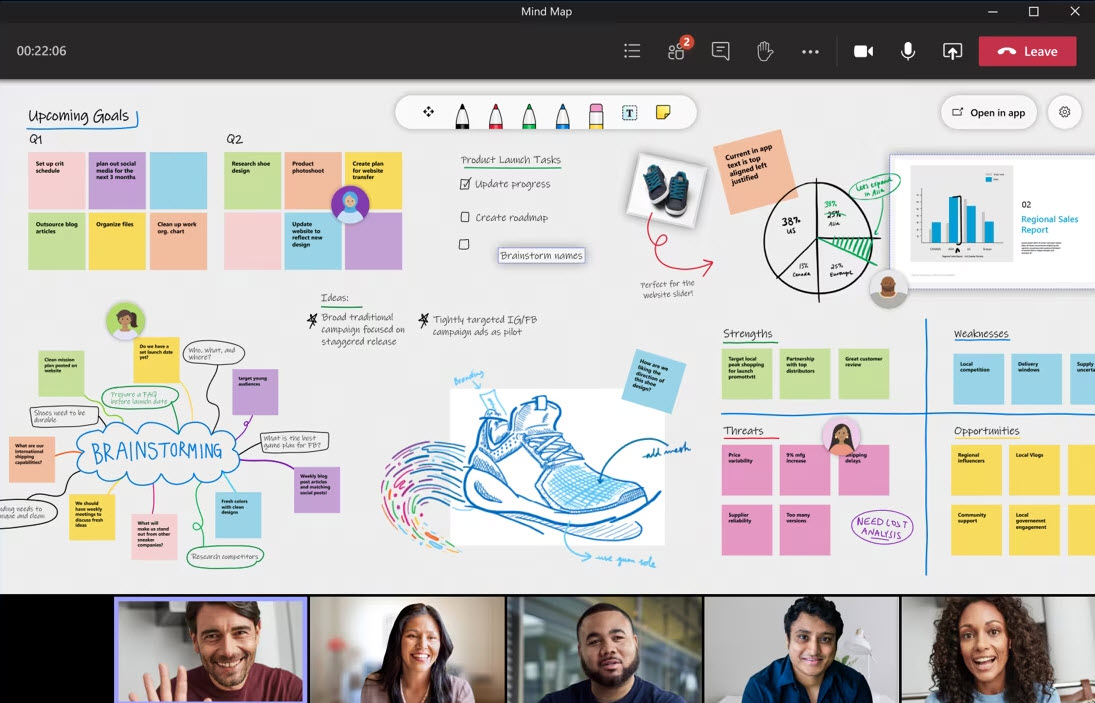
The beauty of a whiteboard is that it is more open-ended than a traditional Word document that is typically used to take meeting notes. Once the whiteboard is open, everyone will have access to a toolbar. By selecting different options from this toolbar, meeting participants can type new text, draw diagrams, and add shapes such as hearts or arrows to draw attention to different parts or ideas. These functions vary a little between Teams and Zoom (in Teams, for example, you can add images or add flow chart templates to your whiteboard), but both are intuitive and easy to use.
What happens next?
Zoom users can choose to save the whiteboard to their device as a picture or PDF. Those who work in Teams will notice that the whiteboard will be added to the meeting chat after the meeting itself ends, and, depending on your account settings, may also be automatically saved in OneDrive.
I want to try this, but can I practice first?
Yes! Please reach out to techtraining@clarku.edu to learn more about this wonderful tool and how to use it.